How to Fix High Memory Usage in Windows 11?
It is an obvious matter to notice that your computer runs slower than normal. The main reason behind it is the lack of RAM. However, after upgrading to Windows 11, many users need help finding solutions to the high memory usage on Windows 11 and earlier versions. But do you know how to fix high memory usage on Windows 11? Well, this post will guide you to fix this problem manually or use the Best PC Health Check Software for Windows.
5 Manual Steps to Fix High Memory Usage in Windows 11
Low RAM is the main reason behind the high memory usage on Windows 11. Hence, you need to know how to manage RAM first. Here, we will discuss five manual steps to fix high memory usage issues in Windows 11.
Fix 1: Disable Startup Apps
Some programs start up automatically when you run the computer. Such apps consume a huge portion of memory. To manage such programs that run during the startup, follow the steps below.
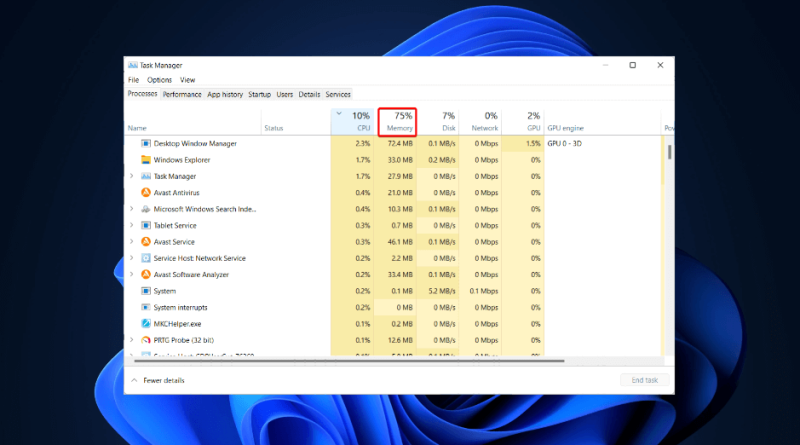
Step 1: Go to the Search icon, type Task Manager, and launch it.
Step 2: Click on the Startup option on the top to find apps that initiate during the startup.

Step 3: Here you need to Right-click on the apps and click on the Disable option.
Fix 2: Close Excessive Programs
To eliminate high memory usage on Windows 11, you can close the excess programs. To reduce unnecessary programs, you need to follow a few steps!
Step 1: Go to the search bar and head to Task Manager.
Step 2: Once you open the processes, look for programs that don’t need running.
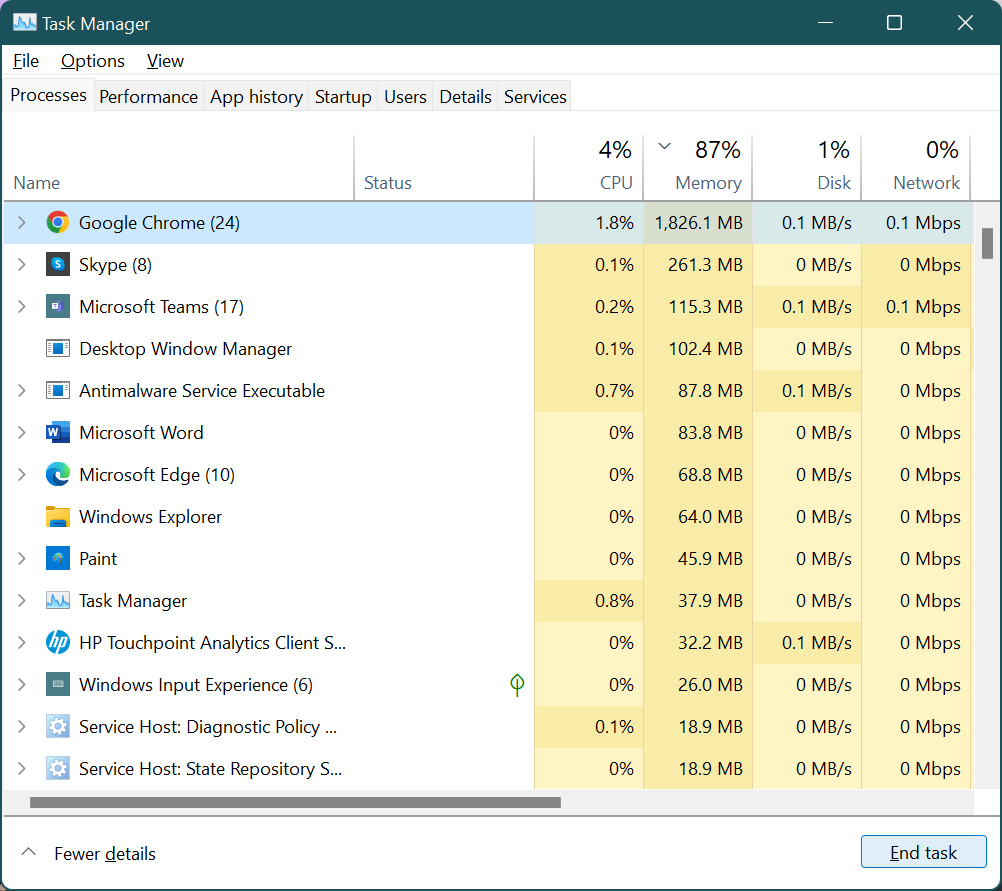
Step 3: Once you find one, right-click on the name and click on End task to close the application.
Fix 3: Increase Virtual Memory
To enhance virtual memory, follow the below steps.
Step 1: Go to the Start Menu and enter sysdm.cpl and hit Enter to access System Properties.
Step 2: Once System Properties window will open, click on Advanced tab to select the ‘Settings’ option under the Performance section.
Step 3: A new window name ‘Performance Options’ will open. Click on the ‘Advanced’ tab.
Step 4: Select ‘Virtual Memory’ and hit the Change option.
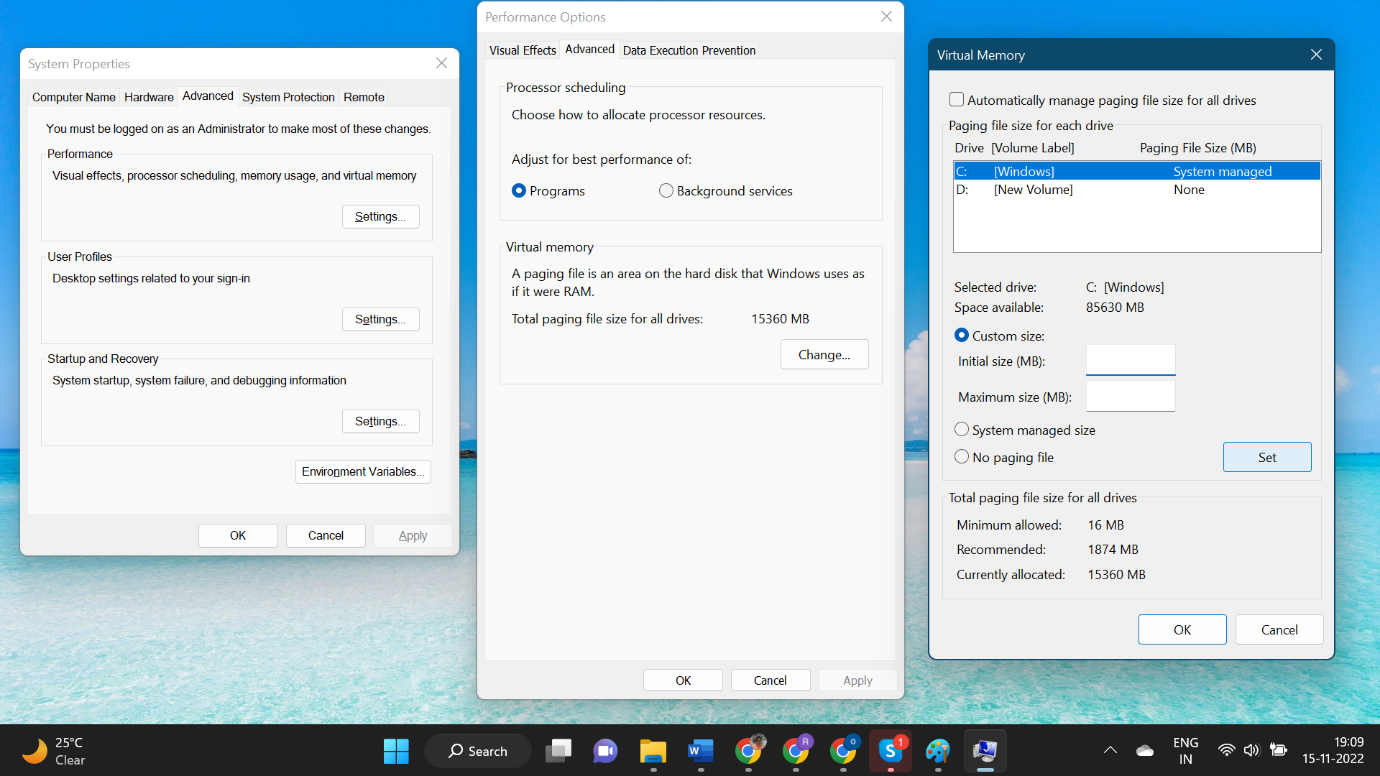
Step 5: Check for all drivers in the ‘Automatically Manage Paging File Size’ option > choose C Drive the default system partition > put a check on ‘No paging file’ option > select the ‘Set’ button to apply changes.
Step 6: Confirm with the ‘Yes’ option.
Step 7: Select another drive partition, click on the Custom option to resize it, enter Initial size and Maximum size (Initial size is 1.5 times of total system memory, Max size is 3 times the total system memory). Once defined, you can click Set, and hit OK.
Step 8: Restart the PC.
Fix 4: Modify the Registry Key
Users can modify the registry key to fix the high memory usage issue on Windows 11. Before proceeding with this method, back up the registry key for the system’s security.
Step 1: To open Run, click Win+R.
Step 2: Type regedit and hit Enter to open Registry Editor.
Step 3: Head to Computer\HKEY_LOCAL_MACHINE\SYSTEM\CurrentControlSet\Control\Session Manager\Memory Management
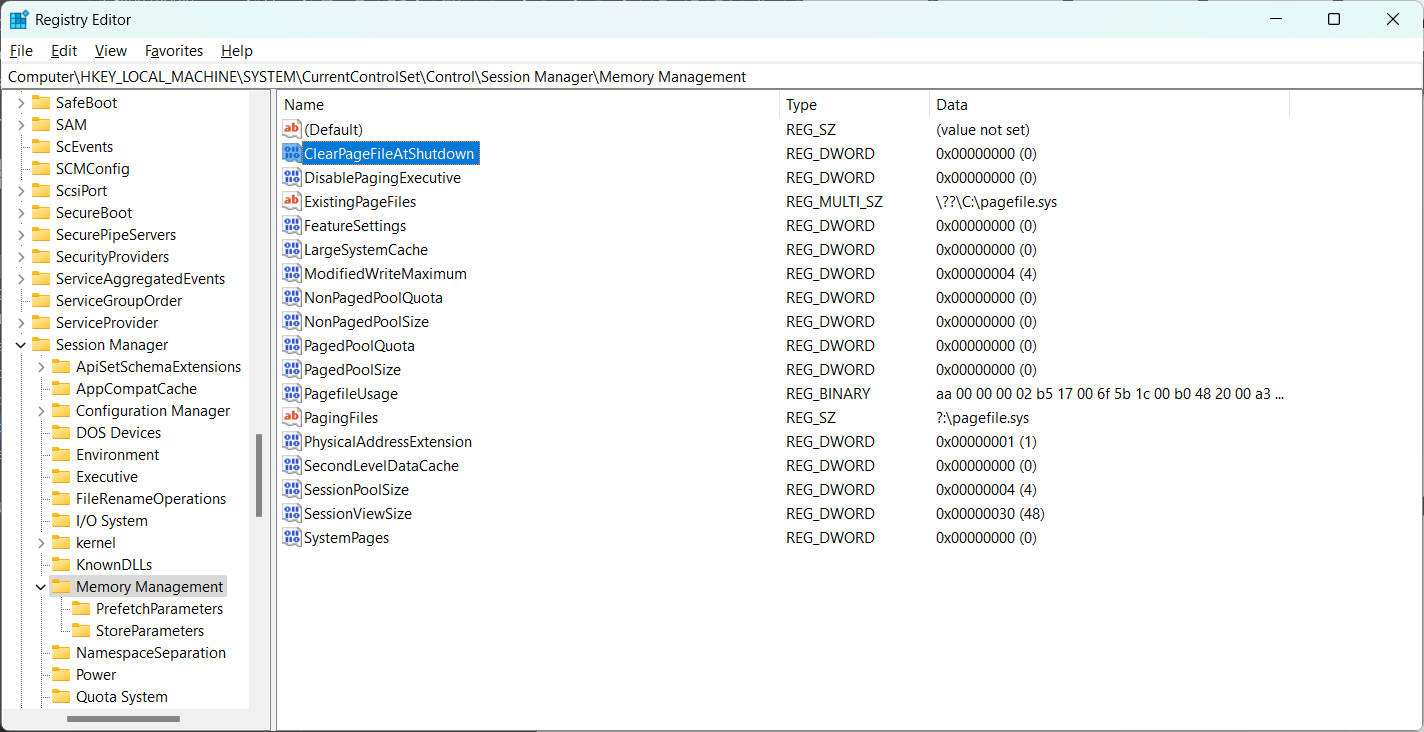
Step 4: From the right panel, search for the ClearPageFileAtShutDown and double-click to open it.
Step 5: Enter 1 as its value data.
Step 6: Press OK to save the change.
Step 7: Restart the system.
Fix 5: Scan and remove Malware
High memory usage on Windows 11 can happen due to malware attacks. Undoubtedly, it is a risky situation. To deal with this, follow a few steps.
Step 1: Go to the Windows search bar and type Windows Security.
Step 2: Select the Virus & threat protection option to continue.
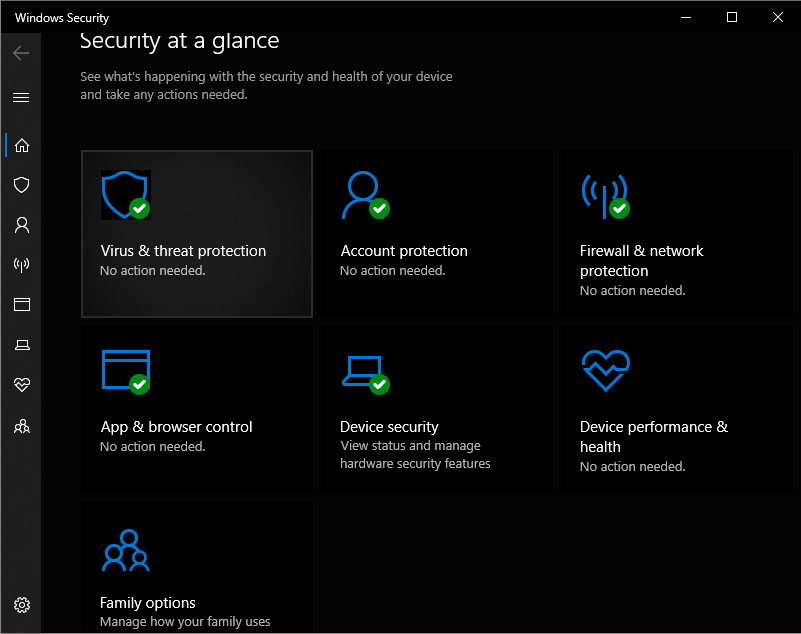
Step 3: On the right panel, hit the Quick Scan button to scan the device for malware.
Step 4: Otherwise, click Scan options > select Full scan > choose Scan now option to perform a full scan.
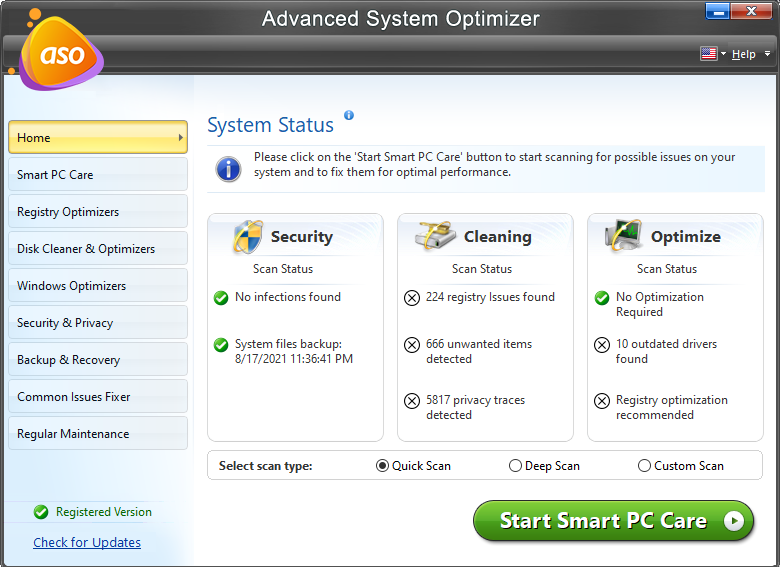
How to Fix High Memory Usage in Windows 11 with Advanced System Optimizer
Except for the manual methods, there are other ways to deal with high memory usage on Windows 11. Advanced System Optimizer is such a way. It helps to clean junk files from the computer, free update drivers, and free up memory. Hence, Advanced System Optimizer is considered one of the most popular PC optimizers for Windows 11.
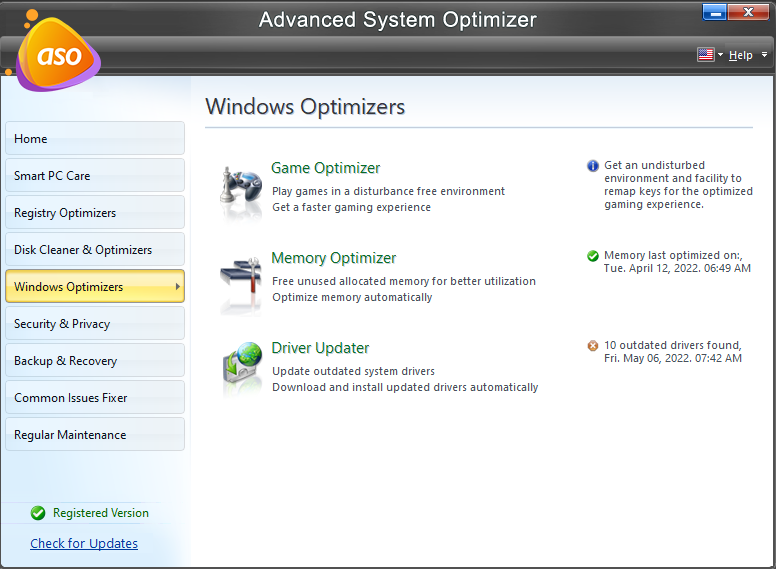
Features
- It cleans obsolete and junk files.
- It optimizes memory perfectly.
- It comes with a built-in game and PC booster.
- It protects the system from malware and other infections.
- It restores system files.
Pros
- Comes with a lot of features
- Improves performance of RAM and ROM
- Ensures protection against malware and snoopers
- Instant solution for every PC problem
Cons
- Available only for Windows OS
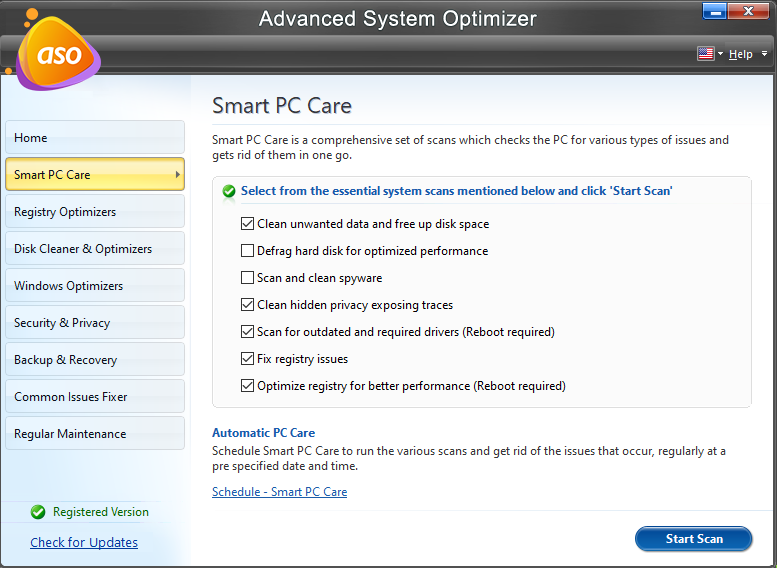
How to Use Advanced System Optimizer?
To install Advanced System Optimizer, you need to download the latest setup for installation of this optimizer. Once you download the setup file, you must follow a few steps to install and run the optimizer.
Step 1: Double-click on the downloaded setup file.
Step 2: Under the UAC notification, choose the YES option to allow the installation.
Step 3: Now you can see Advanced System Optimizer’s wizard. Check the box to create desktop shortcuts for the optimizer.
Step 4: Click on Next to proceed ahead.
Step 5: Go through the License Agreement carefully and accept the agreement.
Step 6: Click Next to move with the product installation.
Step 7: To install the product in another location, click Browse and choose the location. Otherwise, click Next to proceed.
Step 8: Wait until the installation procedure is completed. Remember that the trial version of Advanced System Optimizer is functional only for 24 hours.
Conclusion
So, now you know how to fix high memory usage on Windows 11. If you notice that your Windows 11 consumes a lot of memory, you can apply the abovementioned methods. Otherwise, for best results, you can try the Advanced System Optimizer. Use this excellent optimizer and get rid of storage issues on your Windows 11.